Darknet YOLOv3 on Jetson Nano

Jetson NanoにニューラルネットワークのフレームワークであるDarknetをインストールして、物体検出モデルのYOLOv3が動作する環境を構築しました。
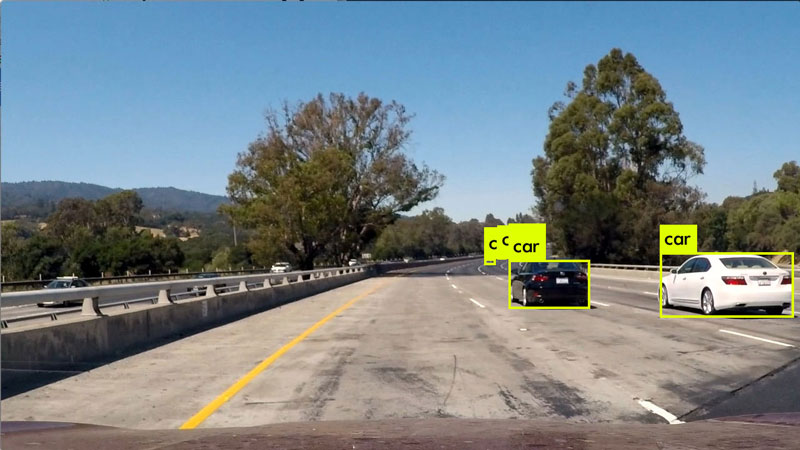
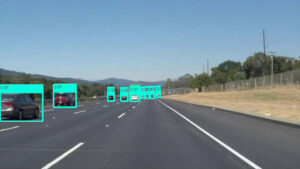
YOLOv3とTiny YOLOv3による物体検出結果
下の画像は、構築した環境のYOLOv3とTiny YOLOv3を用いて、GitHub – udacity/CarND-Vehicle-Detection: Vehicle Detection Projectのテスト画像を物体検出した結果です。
- YOLOv3 (YOLOv3-416)
- Tiny YOLOv3 (YOLOv3-tiny)
環境構築
Darknet
Darknetは、ニューラルネットワークのフレームワークです。詳細は、Darknet: Open Source Neural Networks in Cをご覧ください。ソースが、GitHub – pjreddie/darknet: Convolutional Neural Networksで公開されています。
今回は、フォーク版のGitHub – AlexeyAB/darknet: Windows and Linux version of Darknet Yolo v3 & v2 Neural Networks for object detection (Tensor Cores are used)をcloneします。
予め~/githubディレクトリを作成しておき、以下のコマンドを実行します。
$ cd ~/github
$ git clone https://github.com/AlexeyAB/darknet
$ cd darknet
$ git checkout darknet_yolo_v3 -b jetson_nano
~/github/darknetディレクトリのMakefileを以下のように変更します。
GPU=1
CUDNN=1
OPENCV=1
ARCH= -gencode arch=compute_53,code=[sm_53,compute_53]
最後に、makeを実行します。
$ PATH=/usr/local/cuda/bin:$PATH make -j$(nproc)
YOLOv3 & Tiny YOLOv3
YOLO: Real-Time Object Detectionから、YOLOv3とTiny YOLOv3のpre-trained weight fileを~/github/darknetディレクトリにダウンロードします。
$ cd ~/github/darknet
$ wget https://pjreddie.com/media/files/yolov3.weights
$ wget https://pjreddie.com/media/files/yolov3-tiny.weights
YOLOv3の動作確認のために、以下のコマンドを実行します。
$ cd ~/github/darknet
$ ./darknet detect cfg/yolov3.cfg yolov3.weights data/dog.jpg
Tiny YOLOv3の動作確認のために、以下のコマンドを実行します。
$ cd ~/github/darknet
$ ./darknet detect cfg/yolov3-tiny.cfg yolov3-tiny.weights data/dog.jpg
まとめ
Jetson NanoにニューラルネットワークのフレームワークであるDarknetをインストールして、物体検出モデルのYOLOv3が動作する環境を構築しました。


